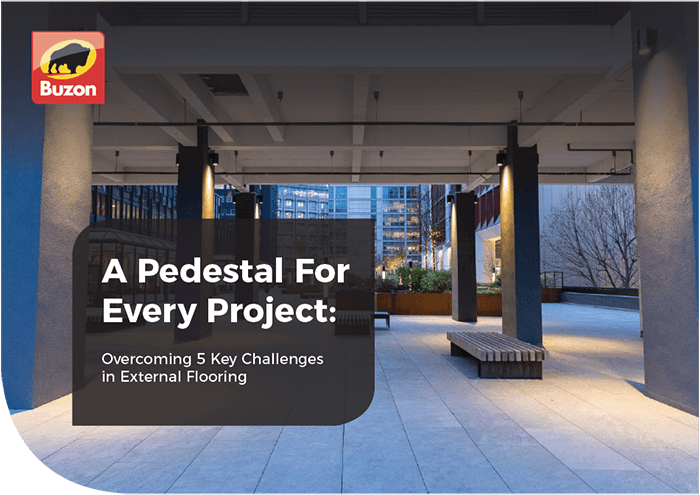
As one of the new focuses for property developers, building managers, and CEOs, the addition of outdoor office space is on the rise.
Cited as a great way to improve office morale and productivity, these outdoor biophilic spaces are not only a beautiful addition to a building but also a great way of improving the mental well-being of workers.
Many of these spaces take the form of roof terraces or extended balconies, with plenty of space for re-energizing, communal activities, and outdoor working areas. With these kinds of spaces, slopes and ramps are almost guaranteed to play a part in the design stages – not only to combat natural inclines but to facilitate natural rainwater dispersion, they are also necessary to meet accessibility requirements.
Here are some of our key considerations for slopes and ramps in your outdoor office spaces.
Finding The Right Pedestal & Functionality
Choosing the right pedestals for your outdoor office space early in the specification stages will not only save you a headache but will avoid unnecessary costs further down the line and avoid project delays.
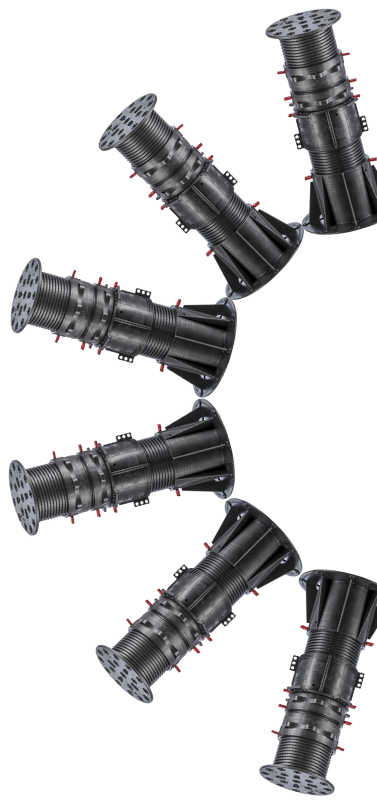
Pedestals such as Buzon’s DPH and fire-rated A-PED range all come with slope correction of up to 5% built into the system itself. All of our other ranges have compatible slope corrector accessories that are either added onto the head and/or base of the pedestal as required.
We recently wrote a blog breaking down the differences between each of our ranges, so you can find the perfect fit for your project: What Pedestal Range Should I Use For My Project?
Slope Correction Is Essential For Roof Terraces
As we touched on in our introduction, roof terraces will likely have a requirement for slope correction as flat roofs need a degree of fall to facilitate water runoff, either using tapered roof insulation or other means, and it's unusual to build onto a flat surface.
Roof Slope Conversion Chart
|
Percentage |
Depth of Fall |
Degrees |
Gradient |
|
5% |
50 mm / LM |
2.86° |
1:20 |
|
4.5% |
45 mm / LM |
2.58° |
1:22 |
|
4% |
40 mm / LM |
2.30° |
1:25 |
|
3.5% |
35 mm / LM |
2.10° |
1:29 |
|
3% |
30 mm / LM |
1.72° |
1:33 |
|
2.5% |
25 mm / LM |
1.43° |
1:40 |
|
2% |
20 mm / LM |
1.50° |
1:50 |
|
1.5% |
15 mm / LM |
0.86° |
1:67 |
|
1% |
10 mm / LM |
0.60° |
1:100 |
This was explored in-depth in one of our recent blogs ‘Why Should You Be Thinking More About Slope Correction?’
To summarise:
If there is a fall of 1%, the height changes by 10mm per linear metre.
That means if your finished floor level is 80mm at the highest point of the terrace and 3 metres to the lowest point, the finished floor level will be 110 mm (80 mm + (3 x 10mm)) at the lowest point of the terrace. A significant difference…
And this will only increase as the fall percentage increases.
For example, a fall of 5% means the finished floor level will be 230 mm (80mm + (3 x 50mm)) at the lowest point of the terrace.
Knowing the highest and lowest points of your terrace is crucial in calculating what pedestal models and accessories are required. The table above should help with that, provided you know the gradient of the slope.
Keep Slope Correction In Mind When Calculating Your Pedestal Requirements
Previously, we’ve discussed the benefits of our pedestal calculators. This clever, easy-to-use and free tool can not only help you calculate the number of pedestals needed for your project but also account for complex fall patterns. (It’s worth mentioning, that to get the most of out these calculators, you’ll need to know the highest and lowest points of your terrace, as discussed above).
You can access our currently available pedestal calculators here:
The BC-FR and A-PED calculators will be released soon.
Accessories For Your Outdoor Office Space’s Slopes & Ramps
There is a wide range of accessories available for each of Buzon’s pedestal systems. These vary from tools to help with measuring slopes, all the way to accessories which can be added to the head of your pedestals to offer greater slope correction.
Measure Your Inclines
Calculating inclines and determining the percentage and fall of your roof terraces is simple with the bubble-level accessory.
Quite simply, the bubble level measures the value of the slope from the point of placement. See it in action here:
Lock-In Your Desired Incline With The U-PH5
The U-PH5 slope corrector accessory can be used after you have taken your measurements with the bubble level. Simply by locking it into place, setting it to the desired incline, and using it at the base of your pedestal, you can maintain the adjustment value of the slope. These can also be used in multiples of up to 2 if the desired slope correction is greater than the maximum 5%.
Conclusion
Slope correction doesn’t have to be a complex procedure during the installation of outdoor office spaces, but we always recommend a site survey to determine your exact needs. This guide should hopefully have given you a better insight into the many considerations for slopes and ramps in outdoor spaces.
However, if you have any further questions or require further information, please do not hesitate to speak to one of our team today.


